 English
 русский
 Español
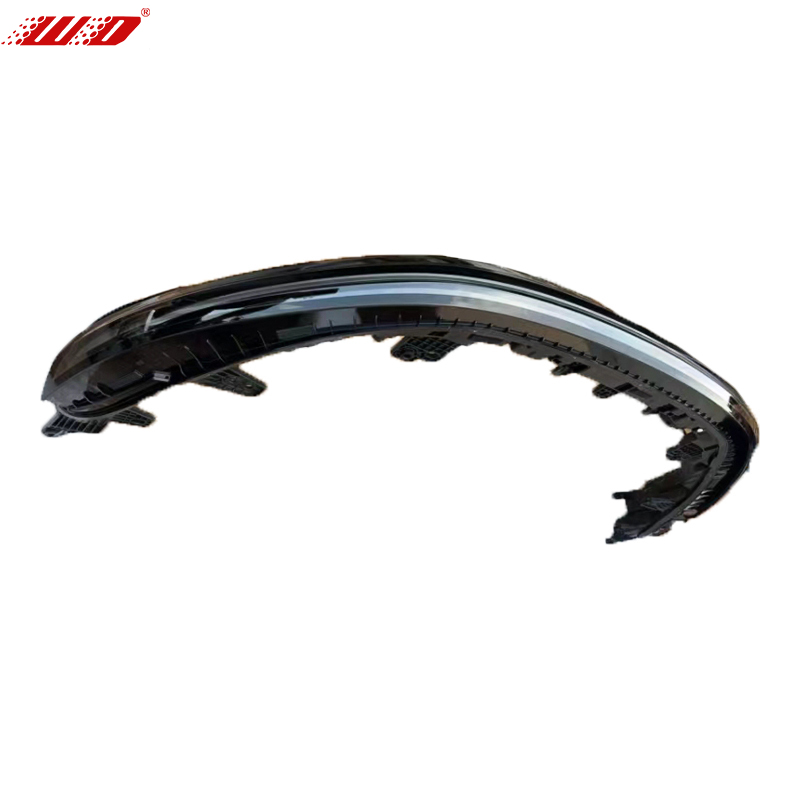
The ZEEKR 001 2024 models center taillight is not a simple reflector or a single bulb housing—it is a full-width LED light bar that integrates the vehicle's central rear lighting signature, turn signal sequencing, and in some configurations, the rear fog light function. Unlike the outboard taillight sections mounted on the tailgate sides or rear quarter panels, the center taillight spans the entire width of the liftgate and serves as the dominant visual element of the vehicle's rear illumination at night. When this component fails, whether from water ingress, impact damage, or internal LED module degradation, the repair process extends beyond mechanical replacement into the domain of vehicle electronics, because the center taillight communicates with the body control module via a LIN bus or CAN bus interface that may require coding after installation.
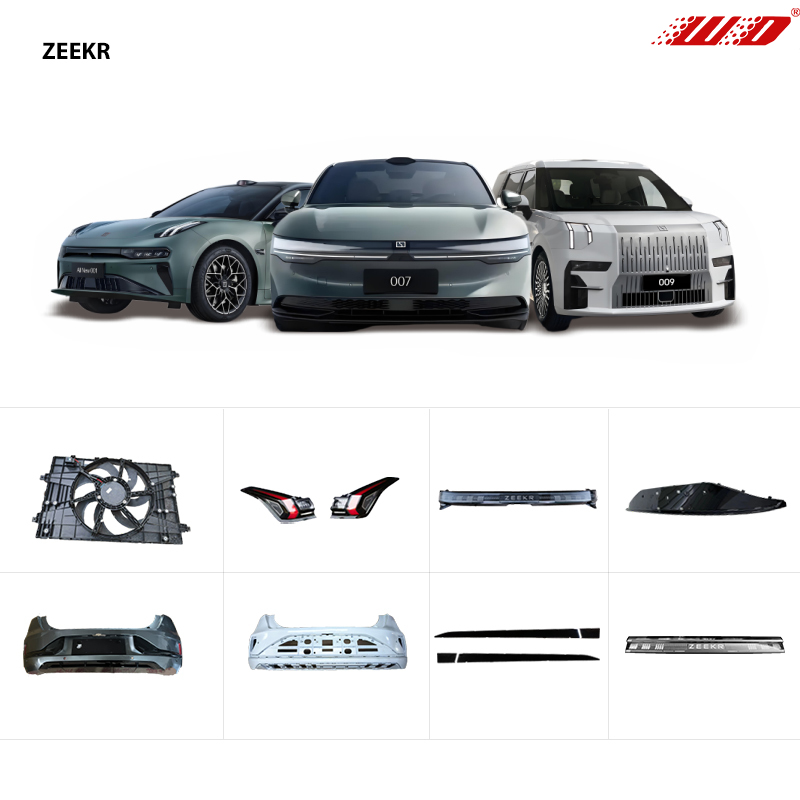
The most common failure mode reported on the 2024 ZEEKR 001 center taillight is partial LED outage affecting specific segments of the light bar. Because the light bar is constructed from multiple LED modules soldered to a flexible printed circuit board encased within the sealed housing, a single failed LED or a broken solder joint on the PCB can extinguish an entire segment. Water ingress through a micro-crack in the lens or a failed housing seal accelerates this degradation by corroding the circuit traces. Replacement of the entire center taillight assembly is the standard repair procedure because the housing is ultrasonically welded and cannot be opened for internal repair without destroying the lens. A replacement unit, correctly installed and coded, restores both the illumination function and the precise visual alignment of the light bar across the tailgate, which is critical for maintaining the seamless light signature that defines the vehicle's rear design.
Content
LED Architecture and Light Bar Construction
The center taillight on the 2024 ZEEKR 001 employs a surface-mount LED array on a flexible PCB substrate, housed within a polycarbonate or acrylic lens that is bonded to a black ABS plastic rear housing. The LEDs themselves are typically OSRAM or CREE automotive-grade devices rated for an operational lifespan exceeding 50,000 hours, but this rating assumes a controlled thermal environment. The confined space within the liftgate, combined with the heat generated by the LEDs running at full brightness during extended night driving, subjects the PCB to thermal cycling between ambient temperatures as low as -30°C and operating temperatures approaching 85°C. These cycles create differential expansion between the PCB material and the solder joints, eventually causing microscopic cracks that interrupt the electrical connection to individual LED segments.
The light bar's optical performance depends on a precise arrangement of diffuser elements and reflector geometry within the lens. Unlike older LED taillights that appear as individual bright dots, the ZEEKR 001 center taillight uses a continuous diffuser optic that creates the appearance of a uniformly illuminated strip. Any replacement unit must match the factory diffuser pattern exactly; an aftermarket part with a different diffusion angle will create visible hot spots or dim zones that break the uniform light signature and are immediately apparent when the vehicle is viewed from behind at night. The table below summarizes the key technical specifications of the center taillight assembly.
| Specification | Detail | Service Implication |
|---|---|---|
| Light Source | SMD LED array on flexible PCB | Non-repairable; assembly replacement only |
| Lens Material | UV-stabilized polycarbonate, hard-coated | Do not use abrasive polishes; micro-scratches cause light scatter |
| Housing Seal | Ultrasonic weld + butyl sealant bead | Cannot be opened; water ingress requires full replacement |
| Communication Protocol | LIN bus or CAN bus (variant dependent) | Replacement may require module coding |
| Operating Voltage | 12V vehicle system, internally regulated | Overvoltage from faulty alternator can damage LED driver |
The hard-coated polycarbonate lens is chemically resistant to most automotive cleaning products, but it is susceptible to micro-scratching from automatic car washes with abrasive brushes. These micro-scratches scatter the LED light as it exits the lens, creating a hazy appearance that diminishes the sharpness of the light signature. Once scratched, the lens cannot be polished effectively because removing even a thin layer of the hard coat exposes the softer polycarbonate substrate, which will then yellow and haze rapidly under UV exposure. This is why protecting the center taillight from mechanical abrasion during washing is essential for preserving both its appearance and its optical performance over the vehicle's service life.
Water Ingress and Condensation Management
A small amount of internal condensation visible inside the center taillight lens is a common observation and does not necessarily indicate a failed seal. LED taillight housings are not hermetically sealed; they incorporate Gore-Tex or similar microporous membrane vents that allow pressure equalization as the housing heats and cools. When warm, moist air is drawn into the housing through these vents during cool-down, a light mist of condensation may form on the inner lens surface during the following morning. This mist should dissipate within 30 to 45 minutes of the taillight being illuminated, as the LED heat raises the internal temperature and drives the moisture back out through the vents.
The distinction between normal condensation and a water leak requiring replacement is clear and diagnostic. Condensation presents as a fine, even fog that clears with light operation. A water leak produces visible droplets, pooling water at the bottom of the housing, or water stains on the internal reflector surfaces. Once liquid water accumulates inside the housing, it will inevitably reach the PCB and initiate corrosion. The resulting failure is progressive: first, intermittent flickering of individual LED segments, then permanent segment failure, and finally a complete loss of illumination as the corrosion spreads along the circuit traces. If standing water is observed inside the center taillight lens, replacement is not optional; it is the only repair that prevents a future failure that could occur without warning and render the vehicle's rear lighting partially non-functional.
Removal and Installation Procedure
Replacing the ZEEKR 001 2024 center taillight requires access to the interior of the liftgate, and the procedure must be performed with care to avoid damaging the surrounding trim panels and the electrical connector. The center taillight is mounted to the liftgate structure with a combination of threaded studs with nuts accessible from inside the liftgate, and alignment pins that locate the housing precisely in the body aperture. Incorrect removal technique can snap the alignment pins off in the body, requiring extraction with pliers and potentially damaging the mounting surface.
Interior Trim Access and Electrical Disconnection
The first step is to open the liftgate and remove the interior trim panel that covers the lower portion of the rear window. This panel is retained by plastic push clips and possibly several concealed screws behind small trim caps. The clips require a trim removal tool inserted close to each clip location to lever the panel free without tearing the clip mounts from the panel. Once the trim is removed, the center taillight electrical connector is visible. This connector typically features a locking tab that must be depressed before the connector can be pulled straight out; prying at an angle will bend the pins. Before disconnecting, confirm the vehicle is powered off and the taillights are switched off to prevent any electrical arcing at the connector pins.
Fastener Removal and Housing Extraction
The center taillight is secured by four to six nuts threaded onto studs that protrude through the liftgate structure. These nuts are typically 8 mm or 10 mm and should be removed with a deep socket to avoid rounding the nut corners. A magnetic socket insert is useful for retrieving nuts that may fall into the liftgate cavity. After all nuts are removed, the taillight housing is freed by pushing gently from inside the liftgate while supporting the housing from outside. This is ideally a two-person operation to prevent the housing from falling and scratching the painted liftgate surface. If the housing resists, a mounting stud may be binding in its hole; gentle rocking while applying steady outward pressure will release it without damaging the alignment pins.
Before installing the new center taillight, inspect the foam or rubber gasket that seals the housing to the body aperture. The new taillight should include this gasket pre-installed; if the old gasket has left residue on the paint, it must be cleaned off with isopropyl alcohol to ensure a flat sealing surface. The installation is the reverse of removal: the housing is positioned on the alignment pins, the nuts are started by hand to prevent cross-threading, and then torqued in a cross-pattern sequence to a specification of 3 to 5 Nm—overtightening will crack the plastic mounting bosses on the taillight housing. The electrical connector is reattached, and the taillight is tested for full functionality before the interior trim panel is reinstalled.
Post-Installation Coding and Module Configuration
The 2024 ZEEKR 001 center taillight is not a simple resistive load that illuminates when voltage is applied; it contains an integrated LED driver module that communicates with the vehicle's body control module. When a new center taillight is installed, the body control module may recognize that the component has been replaced—either through a stored diagnostic trouble code or through a change in the module's internal resistance signature—and may disable the output circuit or display a warning on the instrument cluster until the new module is coded to the vehicle. This is a safety feature designed to detect failed lighting circuits, but it complicates what would otherwise be a straightforward mechanical swap.
The coding procedure requires a diagnostic scan tool capable of communicating with the ZEEKR vehicle platform, such as a dealer-level diagnostic interface or a high-end aftermarket tool with the appropriate software package. The technician connects to the body control module, navigates to the lighting configuration menu, and performs a "new module initialization" or "teach-in" routine. This routine establishes the communication handshake between the body control module and the new taillight's driver module, clears any stored fault codes, and confirms that the taillight's current draw falls within the expected range. Attempting to operate the vehicle without this coding step will result in a persistent rear light fault warning, and in some cases, the center taillight may not illuminate at all despite being correctly installed. For owners performing a DIY replacement, arranging access to a compatible scan tool before beginning the physical installation is essential to avoid a non-functional vehicle at the conclusion of the repair.
Distinguishing Center Taillight from Outboard Taillight Issues
The ZEEKR 001 rear lighting system is divided into the center taillight on the liftgate and the outboard taillights mounted on the fixed rear quarter panels. These components are electrically connected but physically separate, and a failure in one does not necessarily indicate a problem with the other. The diagnostic separation is straightforward: if the full-width light bar has a dark segment directly in the center of the rear of the vehicle, the fault is in the center taillight. If the dark segment is located at the far left or far right edge, where the liftgate meets the quarter panel, the fault may be in the outboard taillight, or it may be a connector issue at the interface between the two housings.
A useful diagnostic check is to activate the vehicle's hazard lights and walk behind the vehicle at a distance of 10 to 15 meters. Observe whether all segments of the full-width light bar flash in synchronization. A segment that flashes intermittently or not at all indicates a failing LED module or a poor electrical connection within that housing. A segment that is dimmer than its neighbors but still flashing suggests a partial short circuit or a failing LED driver channel, which will eventually progress to complete failure. This visual inspection, performed regularly during routine vehicle checks, provides early warning of a taillight issue before a complete segment failure creates a safety concern or attracts law enforcement attention for defective vehicle lighting.